
Why Upgrade to a SSD?
Switching to an SSD makes your laptop much faster, quieter, and more reliable compared to the old HDD. Apps open quicker, your laptop starts in seconds, and overall performance improves. Yeah this is correct
What You Need
🔹 A new SSD (same size as your old HDD, usually 2.5-inch SATA)
🔹 A small Phillips screwdriver
🔹 A USB-to-SATA adapter (if you want to copy your data before replacing)
🔹 Cloning software (if keeping your existing Windows & files)
📥 Download Cloning Software (if needed):
👉 Macrium Reflect Free
👉 EaseUS Todo Backup Free
Step 1: Backup Your Files
Before you start, save your important files on an external hard drive or a USB flash drive.
Step 2: Copy Your Old Drive (Optional)
🔹 If you want to keep your existing Windows and files, use cloning software:
1️⃣ Connect your new SSD to the laptop using a USB-to-SATA adapter.
2️⃣ Open Macrium Reflect or EaseUS Todo Backup and follow the instructions to copy everything from your old HDD to the new SSD.
3️⃣ Turn off your laptop once cloning is done.
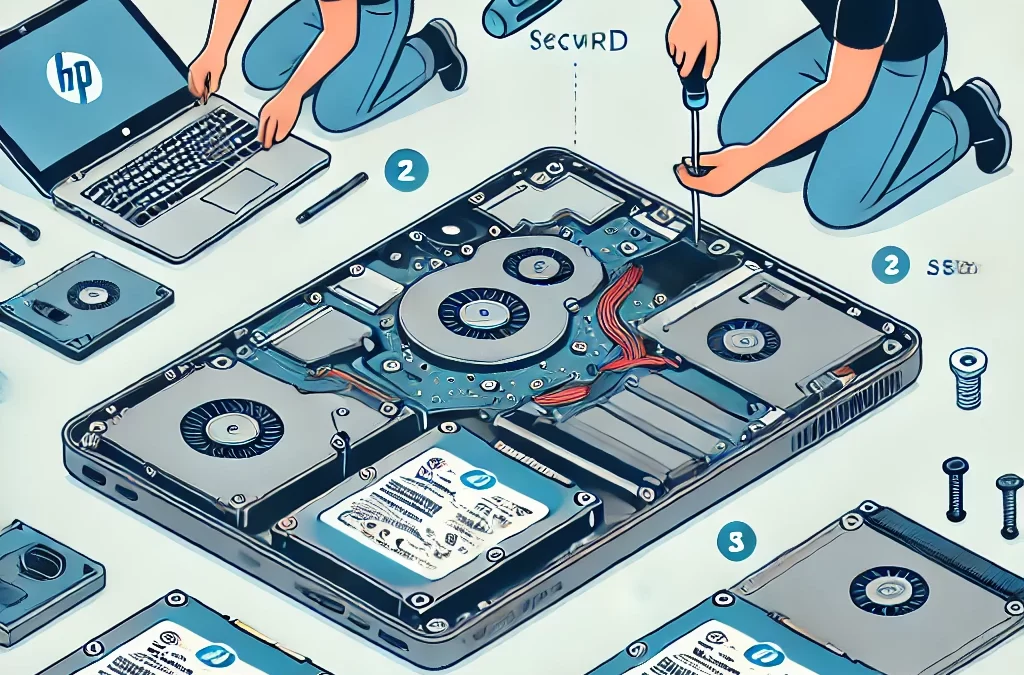
Step 3: Remove the Old HDD
1️⃣ Turn off the laptop and unplug it.
2️⃣ If the battery is removable, take it out.
3️⃣ Use a screwdriver to open the laptop’s bottom cover (check online for your laptop’s specific model).
4️⃣ Find the hard drive—it’s usually held by a few small screws.
5️⃣ Unscrew and carefully pull out the old HDD.
Step 4: Install the New SSD
1️⃣ Slide the new SSD into place, connecting it where the HDD was.
2️⃣ Secure it with screws.
3️⃣ Close the laptop’s bottom cover and put the battery back.
Step 5: Turn On Your Laptop
🔹 If you cloned your old drive, Windows should start normally—just enjoy your faster laptop! 🚀
🔹 If you didn’t clone, you’ll need to install Windows using a bootable USB.
That’s It! 🎉
You’ve successfully upgraded to an SSD! Your laptop will now be much faster, quieter, and more reliable.
If you need assistance, Let’s have WhatsApp, Zoom or Skype